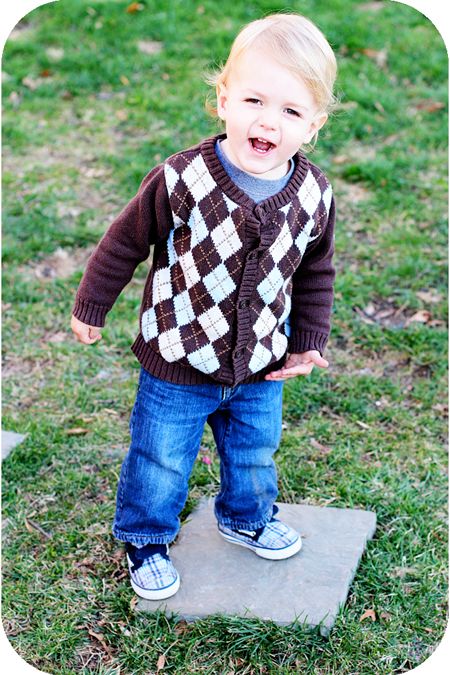
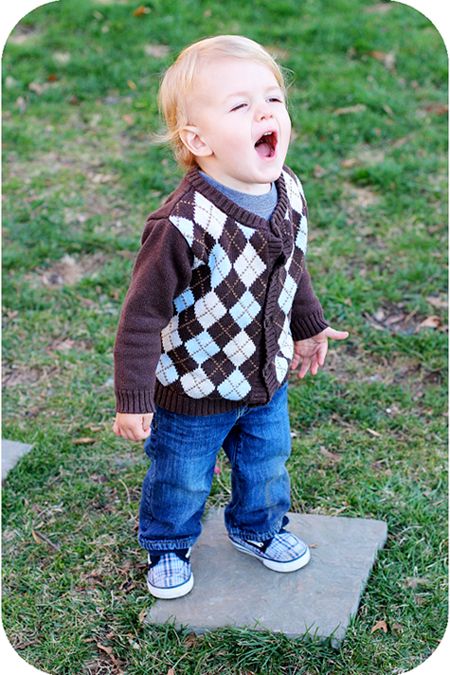
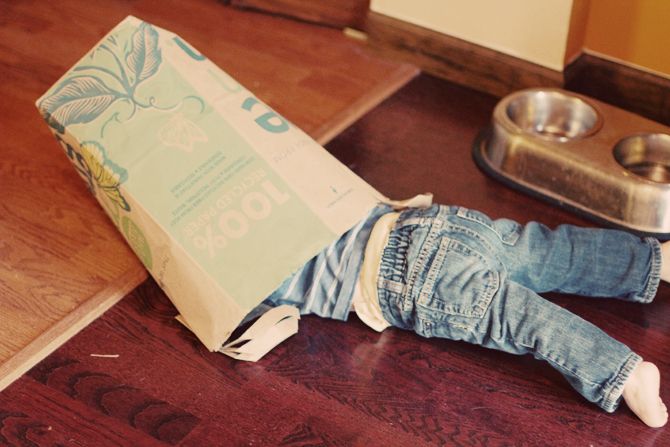
There are a lot of things this blog is... actually there is just one thing this blog is. It's an ode to my child. There are a lot of things this blog is not... and a craft blog is one of them. Not because I'm not crafty, I really like to make things. But more because blogging about stuff you make isn't very fun. It's not fun to write out directions on how to do stuff, and it is boring to photograph the steps of a project. And it's very difficult to photograph yourself making something--like actually impossible.
But, I made all the
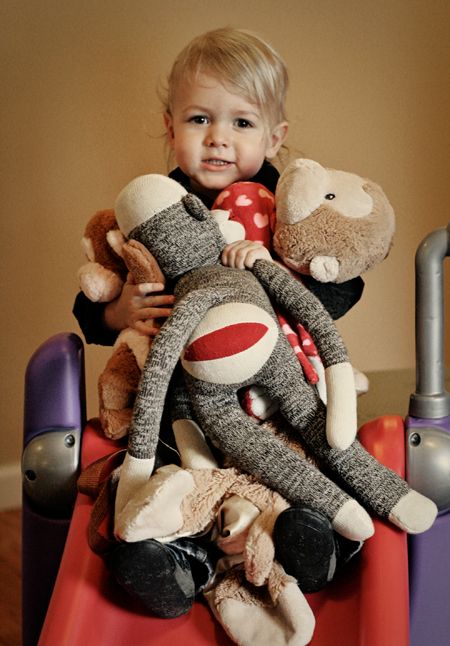
sock monkey nursery stuff for Finley's room and decided to make it for this lil guy's room too. I was apparently too good to use a pattern the first time, so I made up all the bedding as I went... which means I had to redo all my thinkings for the second go round. So just in case I'm crazy enough to make bedding for any other kids, at least I can save time because the directions are already written out. With clever commentary. And terrible pictures--I was totally lame and shot with a flash and then didn't edit these pictures at all, except to add some "helpful" words
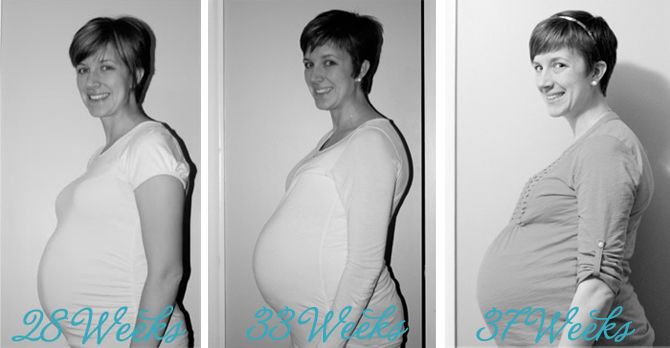
It should be noted that the hardest part of making your own crib bedding is that you are pregnant while doing it. All the bending and cutting and lifting and aerobics involved with sewing are tough. Also, it doesn't save you any money. I bought fancy flannel and it ended up being more expensive than if I bought premade stuff... but it was fun and it is JUST the way I want it.
So the directions:
1. A standard crib mattress is around 28x52". I'm a freak and wanted 10" extra on each side to wrap around... you could probably make do with 8". This means I needed fabric that was 48" wide, and my flannel was only 45" so I had to cut two pieces that were 48" long and sew them together. This also means there is an unsightly seam running down the center of the sheet... not such a big deal on some fabrics, but on this very geometric, patterned piece, it almost KILLED me not have the circles match up. Oh it hurt.

Basically, you need a piece of fabric that 16-20" longer than your mattress in each direction. I estimated my mattress to be 28x52", so I made my fabric 48x72".
2. Then you need to cut out the corners--if you have yourself 10 extra inches, then you cut out 10 inch squares. If you have a rotary cutter, you can fold the fabric in quarters and make just one cut for the whole shebang. I measured out 14" from center and 26" from center and then started my corner there.


3. Drape the fabric over your mattress to make sure it fits. I normally end up trimming mine back a little bit--you obviously want the corners of the fabric to be on the corner of the mattress.

4. Sew the cut out corners together.

5. Turn the sheet inside out and put it on the mattress. Then pin up a nifty pocket for your elastic to run through. You'll need about 90" of elastic. I've used 1/4" and 1/2" elastic and they both work fine.

6. As I mentioned, I am a freak and didn't want an unfinished edge on the elastic pocket, even though no one would see it except me. So as I sewed the pocket, I turned the edge in. I used a zig zag stitch here since it will be scrunched from the elastic.

7. Leave a hole to thread the elastic through.
8. Attach a safety pin to your elastic and push it through--this would be a good job for your husband. What has he done to help with the nursery anyways? Make sure to pin the loose end to the sheet so you don't accidentally pull it through. (Pictures of the elastic were boring.)
9. Sew the two ends of elastic together. And then sew up the hole.

Voila! A very impressive custom crib sheet. This took me about 4 hours--but I stopped in the middle to make dinner, periodically played with Finley and checked my email, and I had to tear out some serious stitches when my elastic slipped through. I also had to make up all the directions and do a lot of math, so that took up some time. When I made the second sheet, it took me about an hour and a half
and I took several breaks to watch "Big Love."
So... is it worth it? I have no idea. I like sewing and picking out fabric, so I thought it was a blast. The best part is that the sweet lady at
The Flannel Queen gave me a 10% coupon code (MARCH10) for you guys to use in case you want to make something nifty as well! They have a ton of cute fabric to choose from... so you should check them out.
THE END!
